I (Gail) put my kids in disposables. Cloth diapers always were a mystery to me. My mother used them on me but in the eighties and nineties disposables were the thing. It’s not that I didn’t try cloth – I did, but washing them was awkward, inconvenient, messy, and time-consuming. And I wasn’t convinced that cloth was any better for the environment when you considered the cost of soap, water, and electricity.
But twenty five years later young moms have more options, including the internet that give instruction, helpful tips, equipment, and support. Naturally Lydia is drawn to the benefits of cloth diapering. I admire her tenacity, her organization, and especially her knowledge of the subject. So it’s time for another mother/daughter interview that I hope will help all you other moms out there as you consider the “To-cloth or Not-to-cloth” debate. (You can view our other mother/daughter post on “Baby-Led Weaning” here.)
Gail: What inspired you to use cloth diapers in the first place?
Lydia: As I was preparing for the birth of our oldest (Deacon), I did a lot of research and reading on various parenting choices and the pros and cons. One big thing I came across was how much disposable diapers cost over the time they are used – potentially as much as $2,500, depending on the brand used (source: Consumer Reports). I was drawn to the fact that cloth diapers are both significantly cheaper, and reduce landfill waste as well.
Gail: Why did you choose cloth instead of the convenience of disposables?
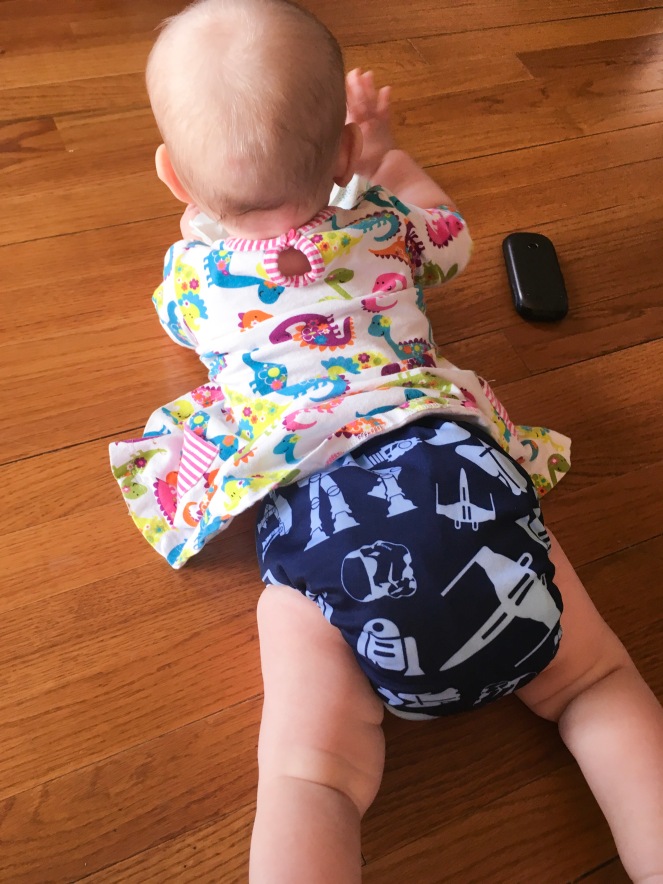
Lydia: Personally, I find cloth to be pretty convenient! Cloth diapers today are very different than the fold-and-pin-rubber-pants style that most people think of. Now, there are a number of different styles, from All-in-Ones that go on and off exactly like a disposable, to Pockets that have a slot to place absorbent inserts, to hybrids that blend all of them. The other big question people have is washing. I find that diapers really only add an extra load about once or twice a week – it’s key to have enough diapers to fill your washer, so you really get your money’s worth out of each wash.
Gail: Give me the Diapering 101 on exactly how you do this. What is your routine?
Lydia: I try to keep diapers stuffed and ready to go both in the living room and in the nursery. When I take a diaper off of Annabelle, I take the insert out and put it in the wet bag (a special bag that is lined with water-resistant material to keep in any wetness). If it is a poopy diaper, it goes in a this special plastic poop bucket. It is important to flush poop down the toilet – nobody wants that in the washing machine! When I’m starting to get low on diapers (only 4-5 clean ones) I round them up from around the house and put them in the washer. I follow a Fluff Love University wash routine, and I have never once had issues: First, a short, cold cycle with a small amount of detergent (For me, that’s line 2 of Tide Plus Bleach), then a long, hot, heavy duty cycle with more detergent (line 4). Then if I have time before I will need them again, I hang the wet bags and shells on the drying rack to air dry, but more often I just throw everything in the dryer. When they are dry, I fold and stuff the inserts, and they are ready to go again!
Gail: What do you recommend to purchase and where are your favorite places to purchase?
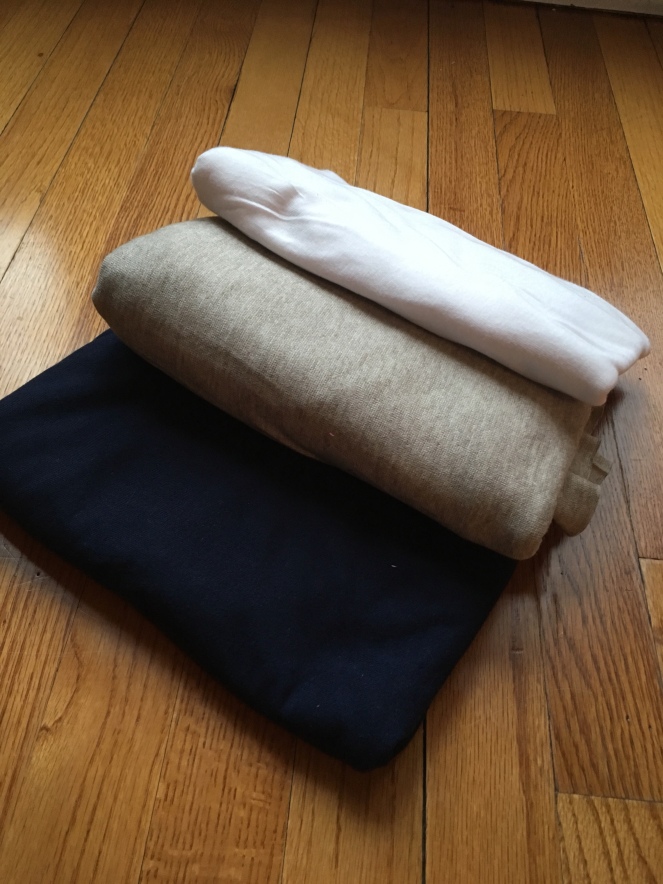
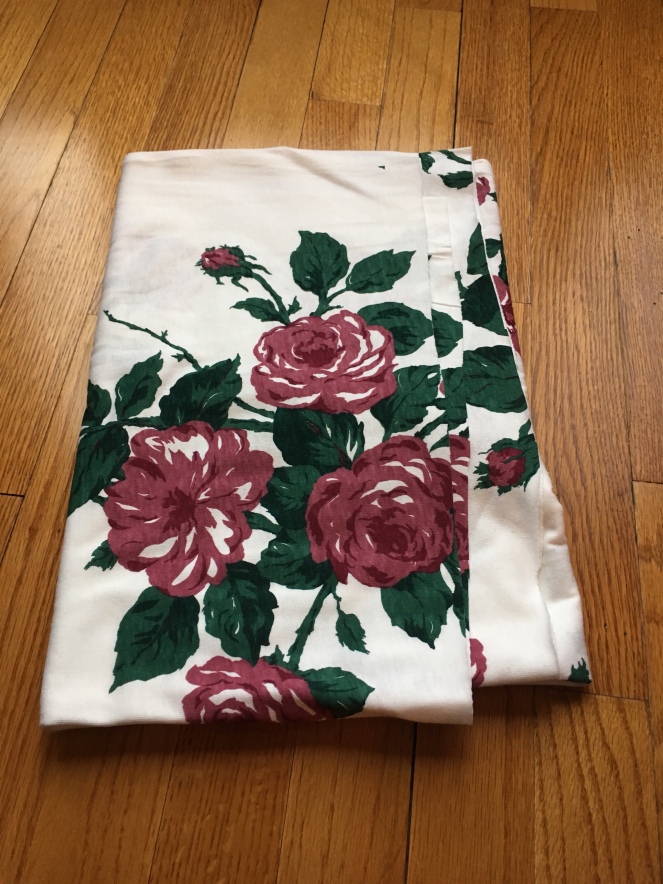
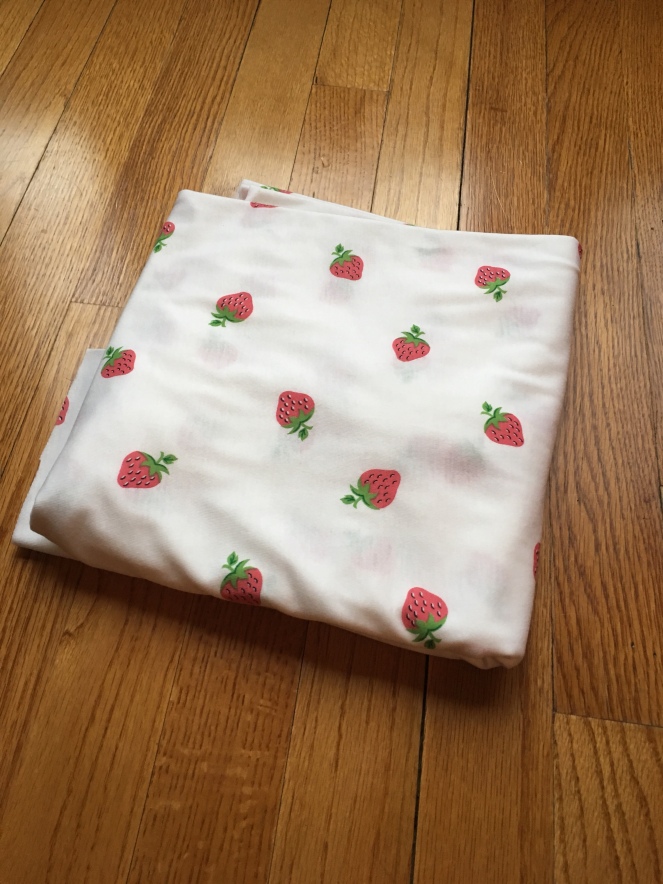
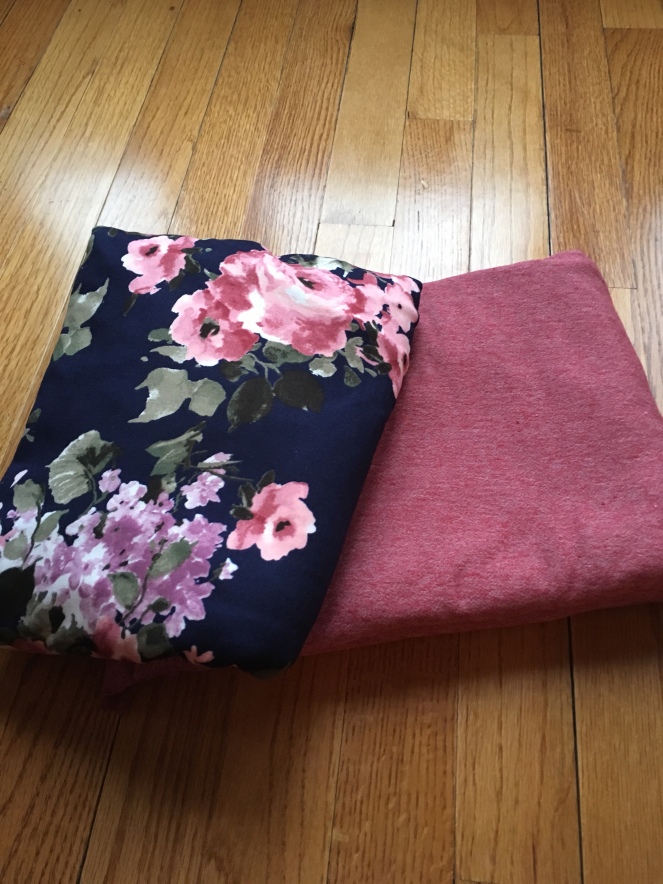
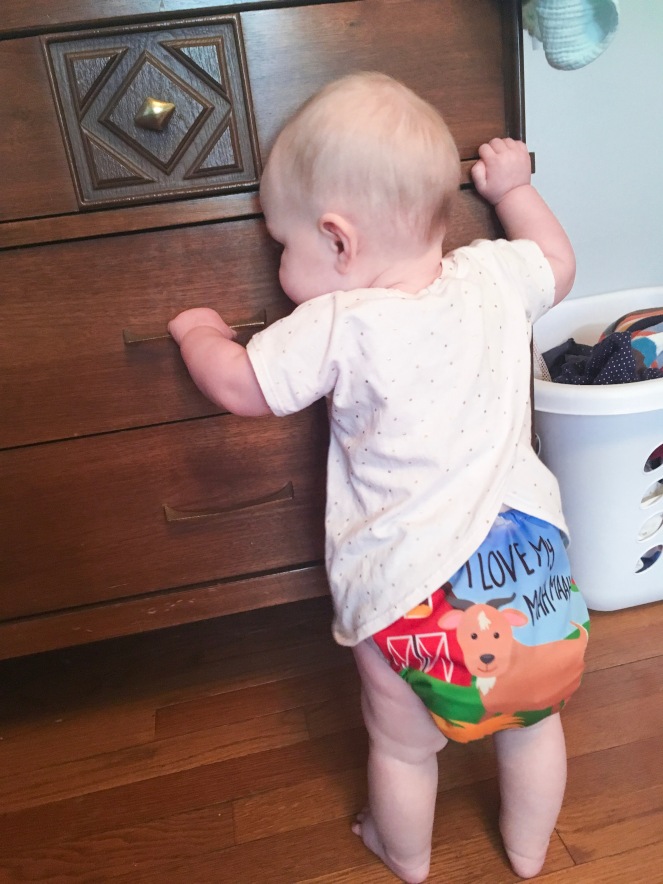
Lydia: Everyone has different preferences as to style and brand. In the same way that different jeans fit different people, different brands of CD’s will fit different babies. But this is what I use: I really like ALVA brand cloth diapers. They are a pocket style, which I prefer because they are fast to put on, easy to customize the absorbency, and they dry quickly. ALVAs are very reasonably priced, and they are also super cute – Many smaller companies in the US will do custom designs on ALVA diapers. I love this one that says “I love my Mahh Mahh”! (buy here)
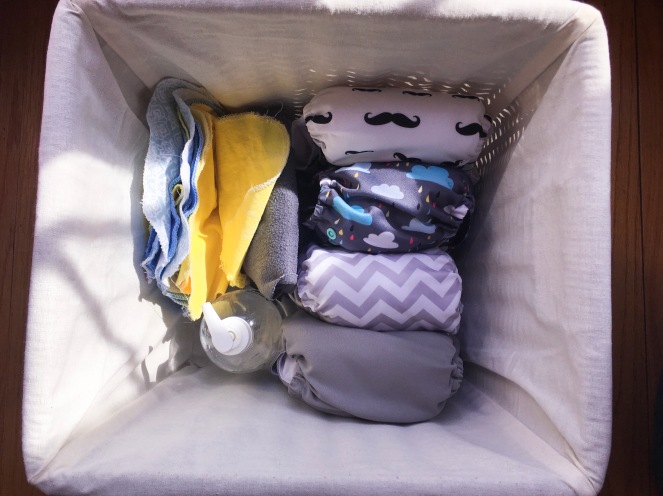
I have around 25-30 diapers, which equals a full wash for my machine. This lasts me 4-5 days. Besides that, I have two large wet bag pail liners, one smaller hanging wet bag for down stairs (I need a second though), and two small wet bags that stay in the diaper bag. I also use cloth wipes – they just get washed along with the diapers, so its a simple process. I made mine by serging flannel. I have about 50 of those. The only other thing you really need to cloth diaper is a good, strong detergent.
As for where to buy, you can actually find some cloth diapering supplies on Amazon. Some of my other favorite resources are Happy Beehinds, Nicki’s Diapers, and the Fluffy Penguin.
Gail: For this to work well I know you have to have everything within arm’s reach as you’re changing a diaper. What is your organization?
Lydia: To be honest, most of the time we end up just pulling diapers out of the laundry basket! But when things are put away, this is how I stay organized. Downstairs: with two little ones, I don’t try to go up to the nursery for every diaper change. Instead, I keep a basket of diaper supplies in the living room stocked with diapers, cloth wipes, fleece liners, and hand sanitizer. When she needs a change, I wet a wipe in the bathroom sink, and I’m ready to go.
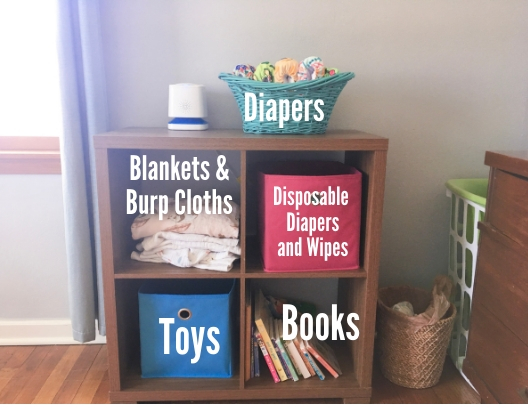
In the nursery, this is how I have the changing area set up in Annabelle’s room:
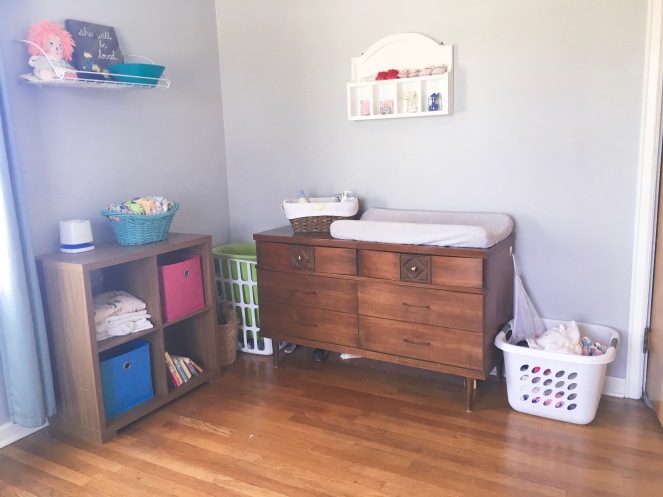
Let me break down where everything is and how I store it. The basket on the right is for her dirty clothes. The big basket on the left is for the dirty diapers – you can see the green pail liner lining it. Zooming in on the dresser top:
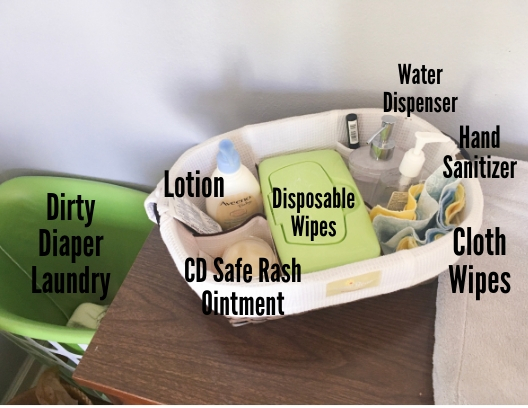
I like to be one-handed when changing diapers, so I can keep one hand on the baby. So for the cloth wipes, I have a little dispenser filled with water (it was actually a soap bottle!) so that I can just grab a wipe and squirt water on it with one hand. Beyond that, everything else I might need is within arms reach. If Annabelle’s bum is looking a little red or dry, I love Burts Bees Multipurpose Ointment. Not all rash creams are CD safe, but this one is a great option. Turning left:
Since I don’t do every diaper change in the nursery (usually only morning/bed/nap, and any poopy diapers), I don’t need a lot of CD’s in the nursery. So I keep a basket with 4 or 5 handy and that takes care of things. I also have a bin with extra supplies like disposables, extra diaper cream, etc.
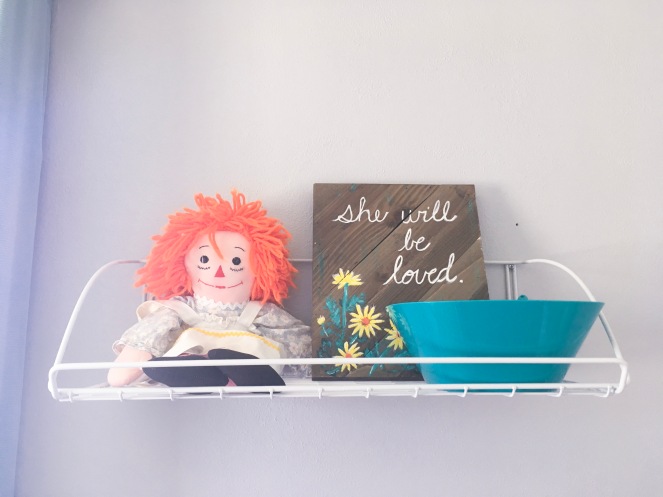
This is the little shelf hanging on the wall. That’s my old Raggedy Ann doll that Annabelle’s namesake made me (my grandmother!), a custom sign my cousin/roommate made for her, and our “poop bucket”. I have to keep it up high so the kids don’t play with it. Not visible is the spatula that stays with the bucket to scrape off solids with. This way, if there is a poopy diaper, I can put it (or if it all stayed on the fleece liner, just the liner!) in the bucket, get the baby all changed and dressed, then take the bucket to the bathroom, scrape/shake the poop off, and carry the whole bucket back without touching the wet diaper much at all.
Gail: What really is the impact on the environment?
Lydia: There is a lot of different debates out there on this topic – does the production and washing of CD’s negate the savings? What about the production of disposables? Does washing them waste water? What about detergent? For me personally, I’ve chosen to use them more for the cost savings than for the environmental impact, but I do think that there is a positive effect. The EPA estimates that 20 billion disposable diapers are added to landfills every year, and that they can take as much as 500 years to decompose. Whether or not cloth diapers are that great for the environment, there is significant benefit to reducing landfill waste.
Gail: Are they comfortable for our baby Annabelle?
Lydia: Yes! I’ve noticed that Annabelle almost never has rashes. When I use disposables for long periods, it seems like she gets red more easily, and the paper chafes her thighs.
Gail: When do you resort to disposables?
Lydia: I use disposables at night. I find it to be easier and more absorbent than trying to stuff enough absorbency in a CD. Pretty much the only other time I end up using disposables is when we travel – packing and washing CD’s on vacation isn’t very relaxing!
So I (Gail) hope you all found this helpful. There certainly a WHOLE lot more colorful options out there that are too cute for words. So cloth diaper on, dear daughter!
Blessings!
-Gail


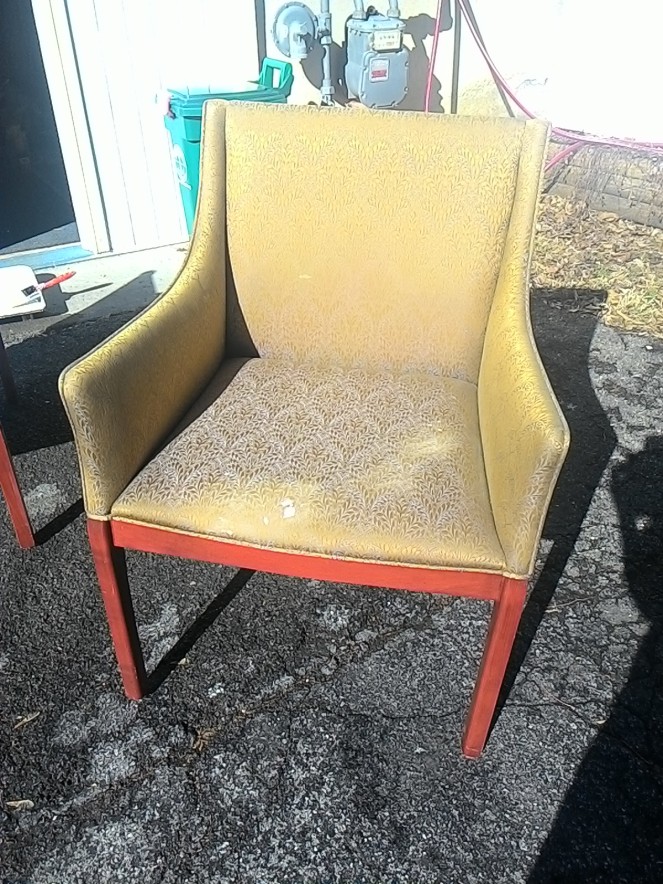
 felt like it could be messy, but I reminded myself I was “dyeing” the fabric, not really painting it. Then only painting the sections I had wetted, I began to apply the color. When I was done with that section, I repeated the process of wetting the fabric, and applying the color, making sure I got into the chair’s crevices.
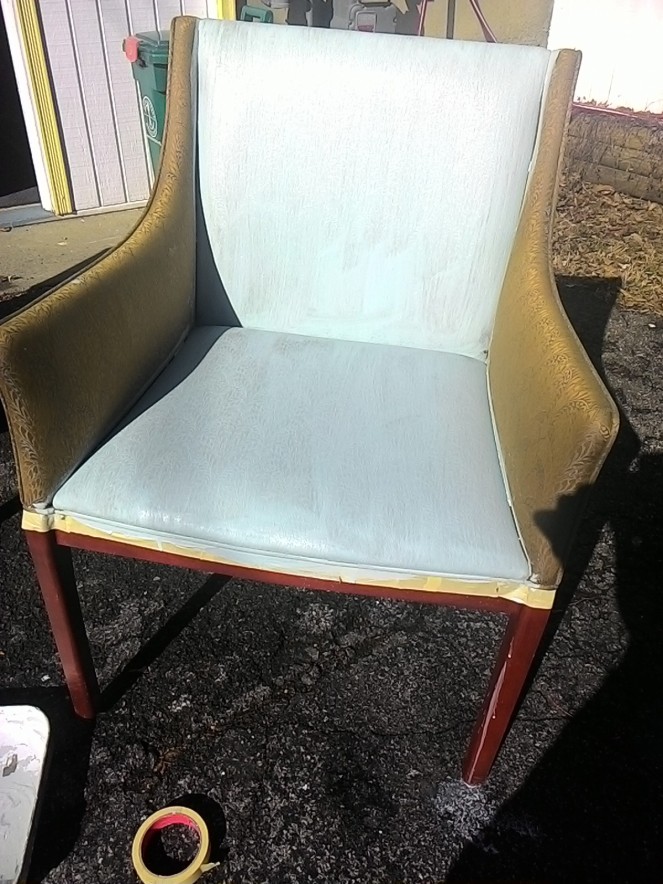


")
")
")